Why Paint Fails on Dirty Siding, and What to Do Before the First Coat
A fresh coat is only as good as the surface under it, and most early paint failures start with dirt nobody saw.
October 13, 2026 · 4 min read
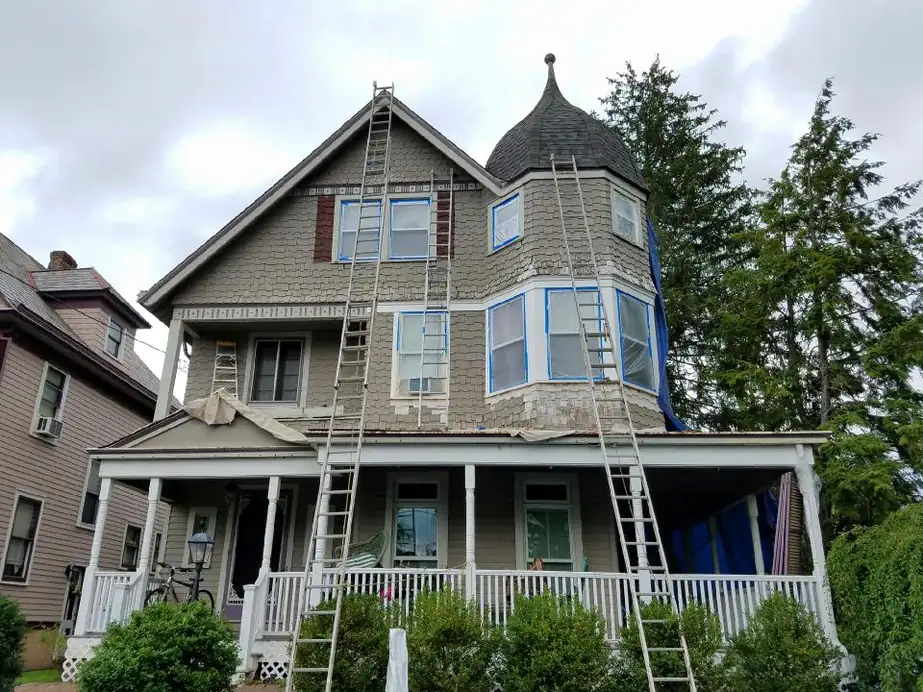
Paint is a thin film. On a good day it grips the surface underneath and holds on through summer sun, winter freeze and months of wind-driven rain. On a bad day it grips whatever happens to be sitting on top of the surface: dust, pollen, mildew, chalky residue from the last coat. That layer looks harmless. It isn't.
At Mera Painting and Home Design, we put it plainly: paint never adheres perfectly to a dirty surface. We say it to homeowners and property managers across New Jersey before nearly every exterior job, because it's the most useful thing to understand about why some paint jobs last and others start peeling within a couple of seasons.
What dirt actually does to a fresh coat
Think of painting over grime like putting tape on a dusty table. The tape sticks to the dust, not the table, and the first time you tug at it, the whole strip lifts away. Paint behaves the same way, only slower. The bond between the new coat and your house is really a bond between the new coat and the dirt, and dirt has no strength of its own.
Different kinds of buildup cause different failures. Chalky residue from aging paint leaves a powder that blocks adhesion. Mildew and algae, common on shaded walls and anywhere moisture lingers, can grow right through a new coat and come back as dark streaks.
None of this shows up on the day the crew packs up. The trouble arrives later, usually after a hard winter, when moisture finds the weak spots and the freeze and thaw does its slow work.
Why we encourage power washing first
Power washing is the fastest way to strip that film of buildup off siding, trim, porch posts and masonry. Done with sensible pressure, it lifts away chalk, mildew, loose paint edges and years of grime without harming the surface underneath. Done carelessly, it can gouge soft wood or drive water behind clapboards, so pressure and distance matter as much as the machine.
That's why Mera encourages customers to power wash their residential or commercial properties before we paint. It's a small step that protects everything that comes after it. A clean surface lets primer and paint do what they were made to do.
A wet surface isn't a paintable surface, either. After washing, the siding has to dry out completely, including the spots that stay damp longest: the lower courses near the ground, the underside of trim, the corners where two walls meet. Painting early is how blisters get sealed in.
Gutters belong in the conversation
Gutters get ignored until something goes wrong, and then they take the blame for everything. In a paint job, they deserve real attention. A clogged gutter holds water against the fascia and soffit, and when it overflows it sends a sheet of water down the siding, right where you've just spent money on a fresh finish.
Wet wood swells, and swollen wood cracks paint. We encourage our customers to have their gutters cleaned by our professionals as part of the preparation, so water travels where it's supposed to go: down the downspout and away from the house.
If you manage an apartment complex, a row of storefronts or any building with a long roofline, the same logic applies at scale. One neglected gutter run can undo the wall beneath it.
A sensible order of operations
The sequence matters as much as the individual steps. Here's the order that makes sense on a typical exterior repaint:
- Clean the gutters and downspouts so water has a clear path away from the house.
- Power wash siding, trim, porches and masonry to remove chalk, mildew and grime.
- Let every surface dry thoroughly, especially low courses and the underside of trim.
- Scrape loose and peeling paint, then sand the edges so they feather smoothly into the sound paint around them.
- Repair rot, replace failed caulk, and fill nail holes and cracks.
- Prime bare wood and patched spots so the finish coat dries evenly.
- Apply the finish coats in weather that's neither damp nor very cold.
What you can do before the crew arrives
You don't need to do much, but a few small things help. Trim back shrubs and vines that touch the walls so they don't brush wet paint or hold moisture against the siding. Move patio furniture, planters and grills well away from the house. Note any spots where water pools or paint is already peeling, so you can point them out at the estimate.
Why the extra step pays off
Nobody wants to repaint sooner than necessary. Washing and gutter cleaning add a step to the front of the project, but they protect everything that follows. The coat goes onto a sound surface, the edges stay put, and the color you chose keeps looking the way it did on day one for longer.
Mera Painting and Home Design is licensed and bonded, has served New Jersey and the tri-state area for over 20 years, and stands behind every job with a warranty. A warranty is only as good as the preparation under it, which is why we're stubborn about the dirty-surface rule.
If you'd like someone to look at your siding, trim and gutters and tell you honestly what needs doing before paint goes on, call Mera Painting and Home Design at 973-885-1160 for a free estimate.
Mera Painting & Home Design, 973-885-1160
Call 973-885-1160More articles
What Lead-Safe Painting Looks Like in an Older New Jersey Home
Lead-safe work is mostly about dust: keeping it small, keeping it contained, and truly removing it at the end.
Refinish or Replace: Deciding What to Do With Tired Kitchen Cabinets
Often the cabinet boxes are fine and only the surface is tired, which is good news for your kitchen and your budget.